Google Search Console
Verify your Website on Google Search ConsoleNote: Click here to navigate to the mobile admin app version of this article. The first step to getting your website noticed on Google is to verify your ownership. You can do this via Google Search Console. Note: Make sure to install the Google Search Console app from the aasaan app market. Click here to learn how to install apps from your app market.
- Steps
- Screenshots
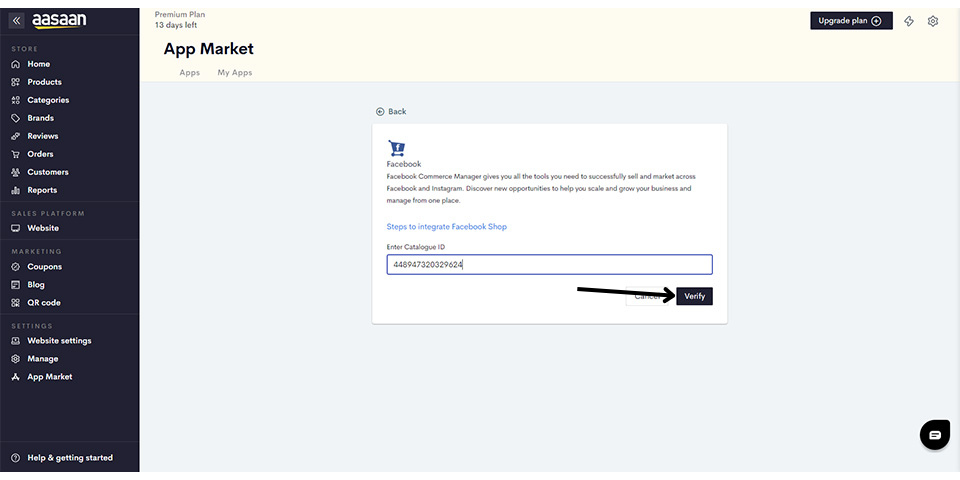
STEP 1:Create a Google Search Console account.STEP 2:Enter your website URL in the format below (https://yourwebsite) in the URL prefix section. Click on Continue.STEP 3:Expand the row titled “HTML tag” and copy the code snippet given. You need to copy the part of the tag within the quotation marks that comes after content=. For example, if the entire HTML tag is
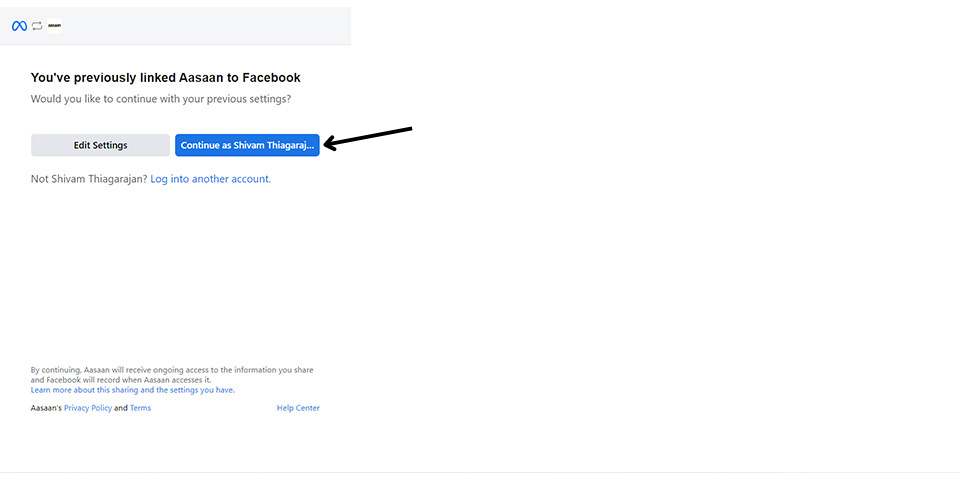
<meta content="samplecodesnippet" name="google-site-verification"/>, then you need to copy just samplecodesnippet for configuring the Search Console app in aasaan.STEP 4:To paste that snippet log in to your Aasaan desktop admin panel and install Google Search Console from your app market. Click here to learn how to install apps.STEP 5:Go to your installed Google Search Console app in aasaan. Enter the part of the meta tag snippet from step 3 and click on Verify.STEP 6:Choose the Google account with which you created your search console account.STEP 7:Click on Continue. Your code snippet has successfully been added.STEP 8:Go back to your Google Search Console and click on Verify. Your website is now verified.


Important Notes
Notes on making your site visible on Google For your site to be visible on Google search, Google needs to index it. How do I find out if my site has been indexed by Google? You can search for your online store in Google by using a site search to see if your site has been indexed by Google. In a Google search, entersite:storeid.aasaan.app or your site:<your custom domain>. If pages from your online store appear in the search results, then Google is indexing your site.
Note: Google usually indexes your site automatically within 48 to 72 hours after you add or update information. You can’t force Google to re-index your site, but you can prompt them to do so by using Google Search Console. Google doesn’t index all of the pages on a site. Learn more about what to expect when your site is indexed from the Google Search Console Help.
Points to note:
- You can request detailed Google Index information about a URL in your property, including any rich results or videos, mobile usability issues, index status, and more. To see the current URL information in the Google index: Open the URL Inspection tool.
- “URL is on Google” doesn’t actually mean that your page will appear in Search results. Actual appearance in Search results requires that the page and its structured data conform to quality and security guidelines.
- The URL Inspection tool doesn’t take into account manual actions, content removals, or temporarily blocked URLs. To see if your URL is appearing, search for your URL on Google; if your URL is missing but this tool says it was indexed, here’s how to find out why.
- The “Last crawl” date in the Page availability section shows the date when the page used to generate this information was crawled.
Request Indexing
Send an Indexing Request for your website on Google Search Console Request Indexing for your Website on Google After verifying your website and submitting your sitemap, the next step to getting your website noticed on Google is to submit an indexing request on Google Search Console.STEP 1:Log in to Google Search Console and go to your chosen property (the website you want to index). Then enter your website URL in the text field at the top, and press Enter.STEP 2:You will see a page which says “URL is not on Google”. Click on Request Indexing.Sending the request will take a few minutes.Your indexing request has been sent. Click on Got it.
How do I find out if my site has been indexed by Google?You can search for your online store in Google by using a site search to see if your site has been indexed by Google.In a Google search, enter
site:storeid.aasaan.app or if you have a custom domain (like example.com), then enter site:example.com.If pages from your online store appear in the search results, then Google is indexing your site.Submit your Sitemap
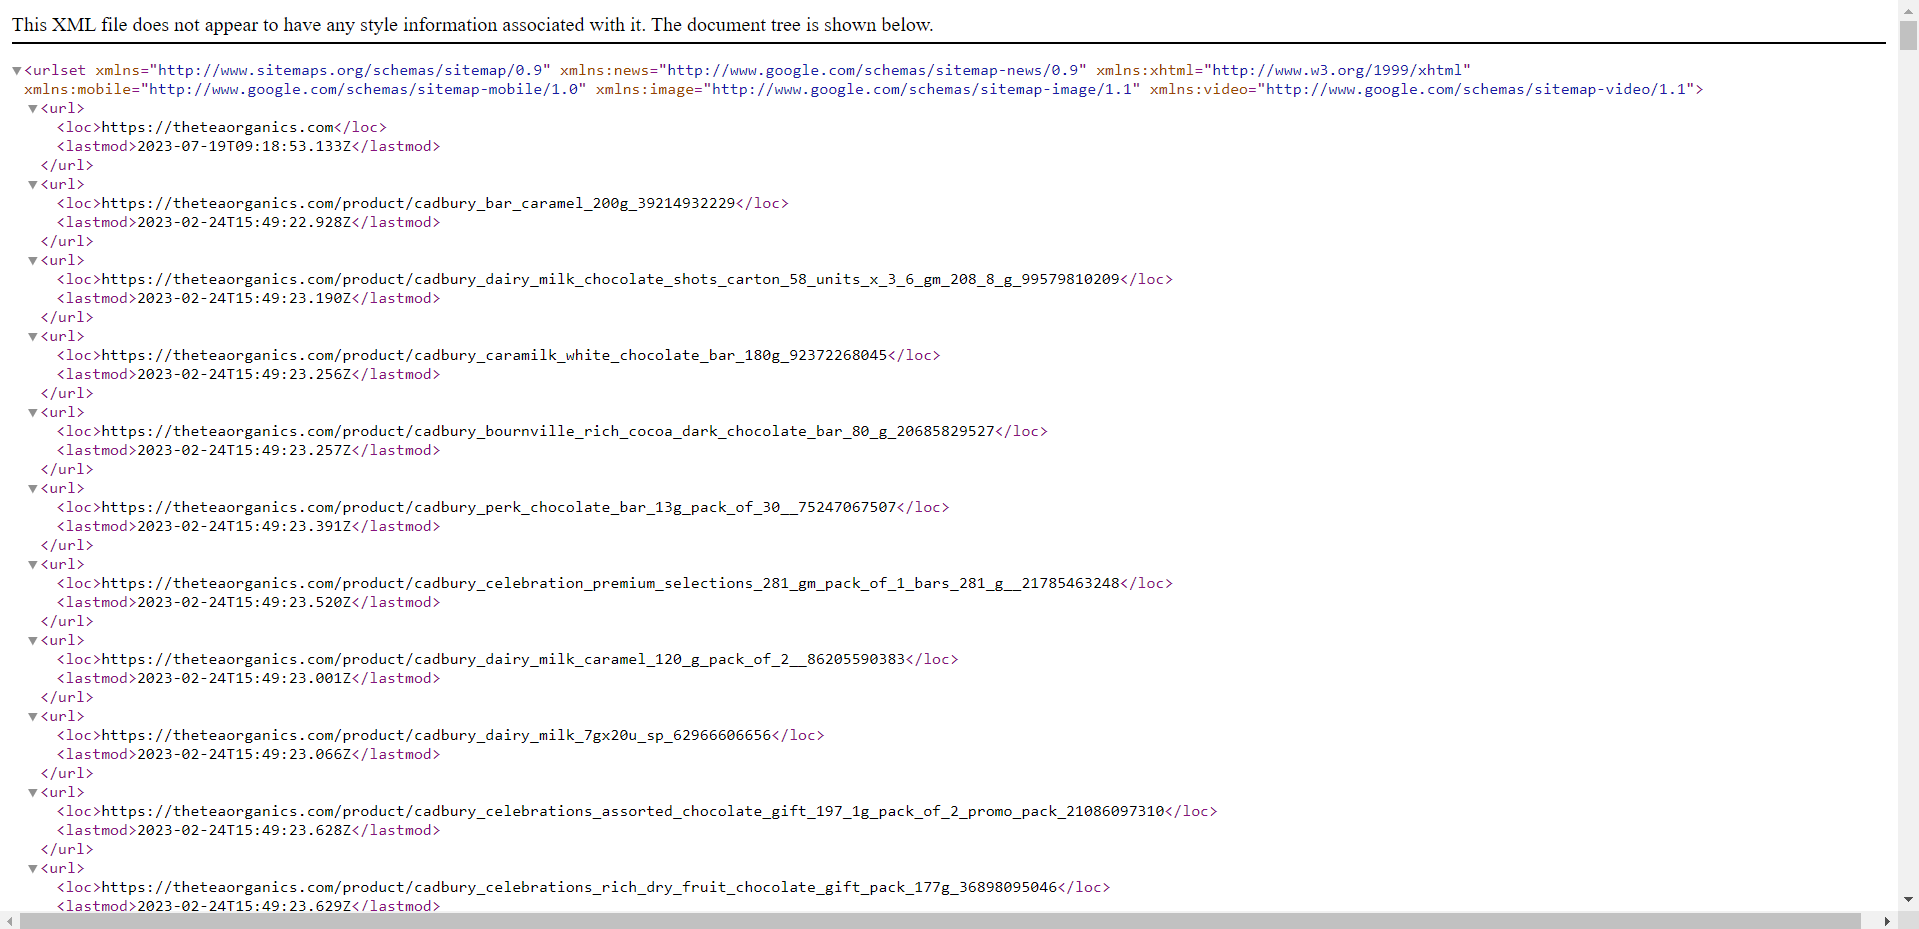
How to Submit your sitemap on Google Search Console Submit your Sitemap on Google After verifying your website, the second crucial step to getting noticed on Google is submitting your website’s sitemap. What is a sitemap? A sitemap is an XML file which contains information about the pages, images, and other files on your website. It also contains the relationships between all the pages on your site. Why is it important to submit your sitemap? Your sitemap will help Google crawl through your website more easily, and index every page and file on your site. This will make it easier for you to be found on Google search results. When you create your website on Aasaan, a sitemap is automatically generated. All you have to do is enter your website URL/sitemap.xml.- Steps
- StepsScreenshots
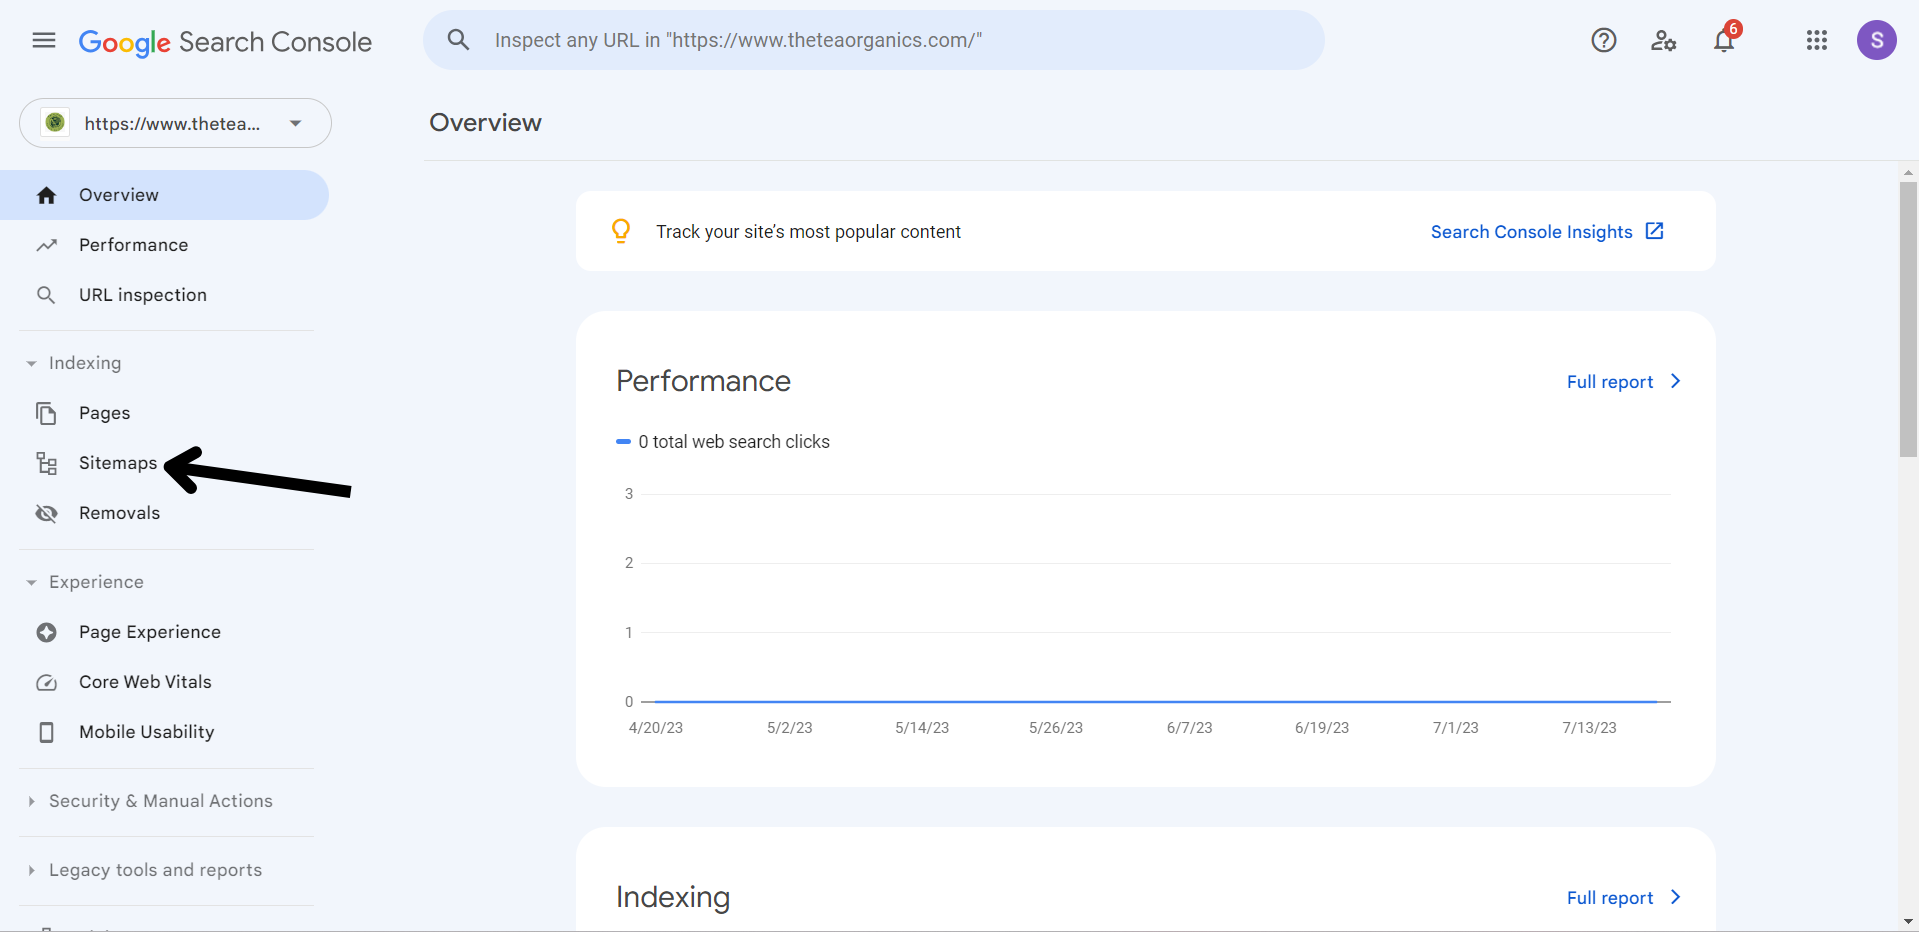
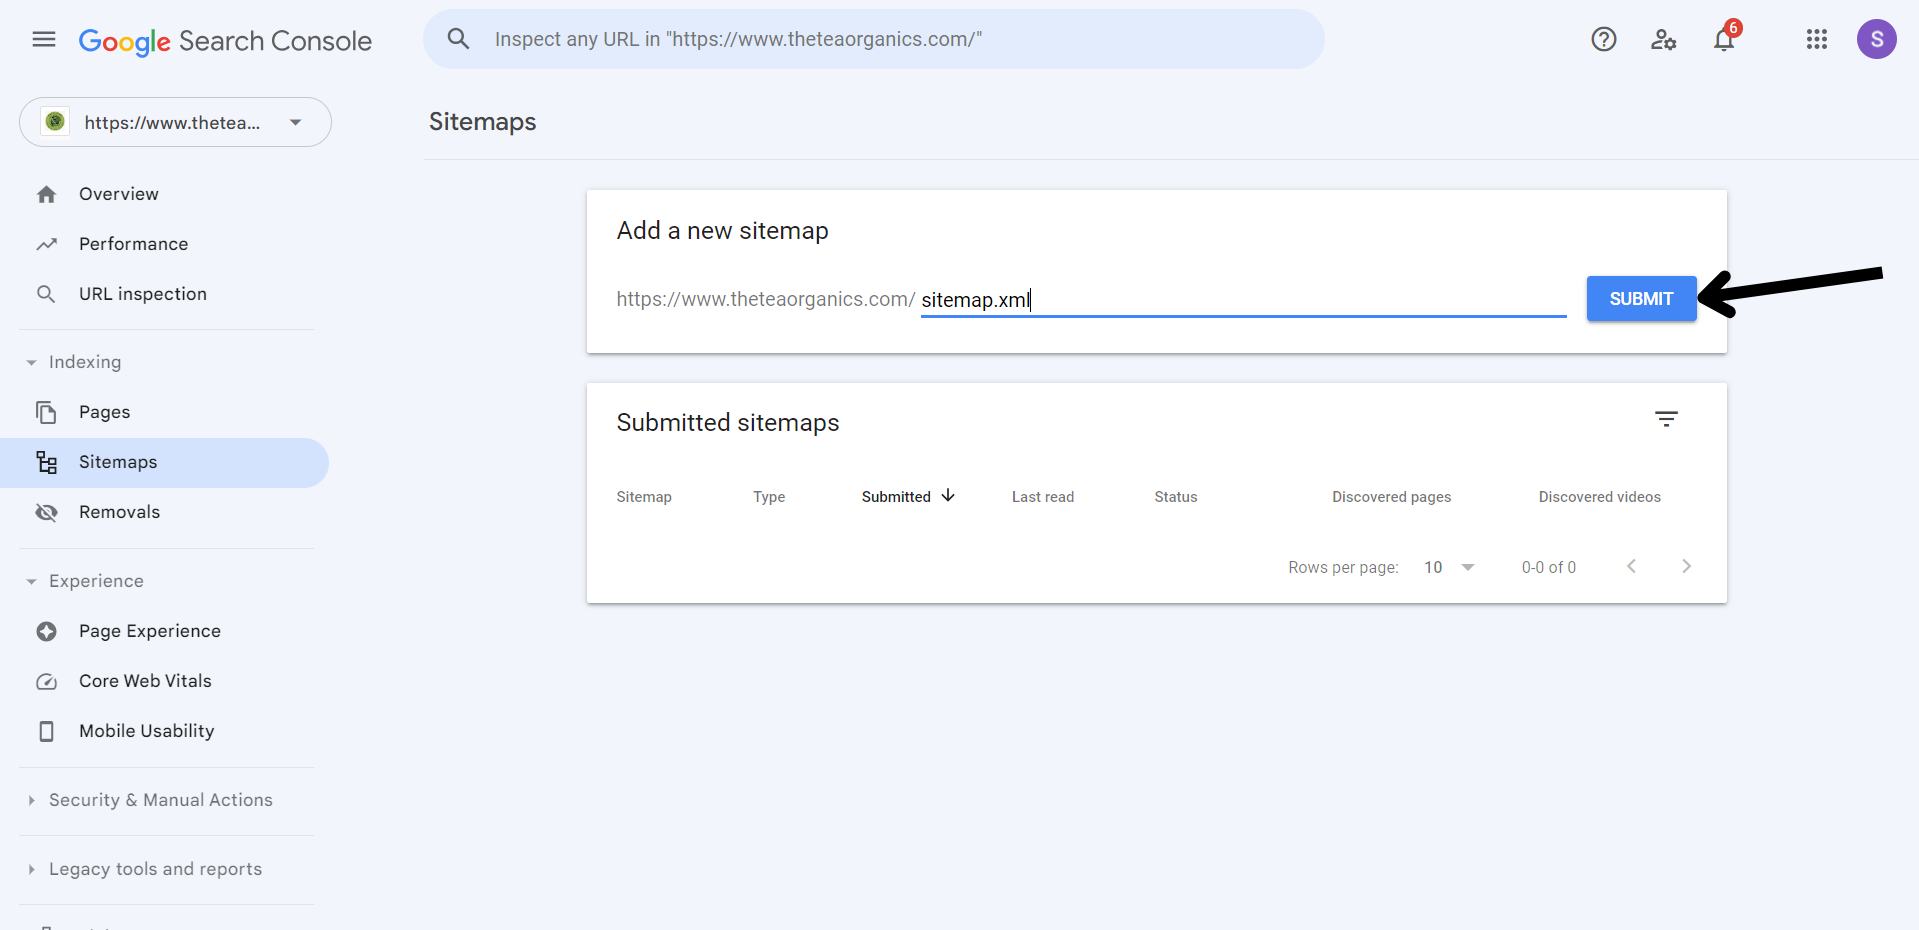
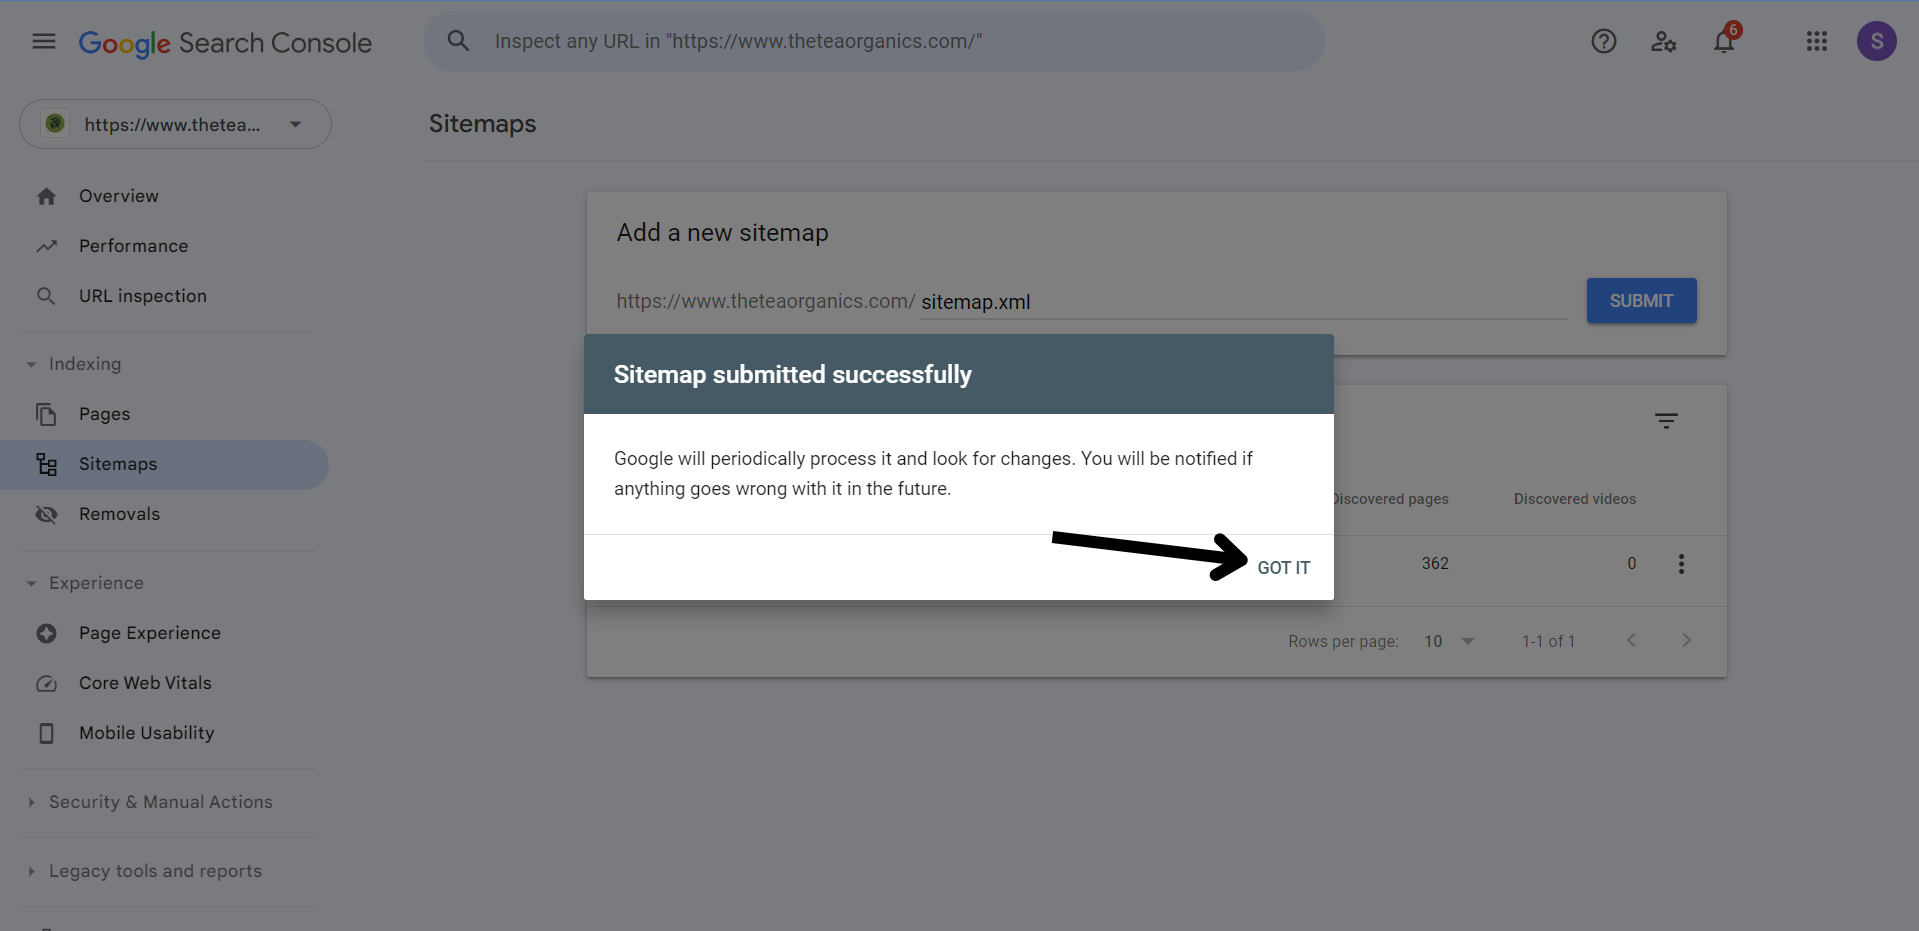
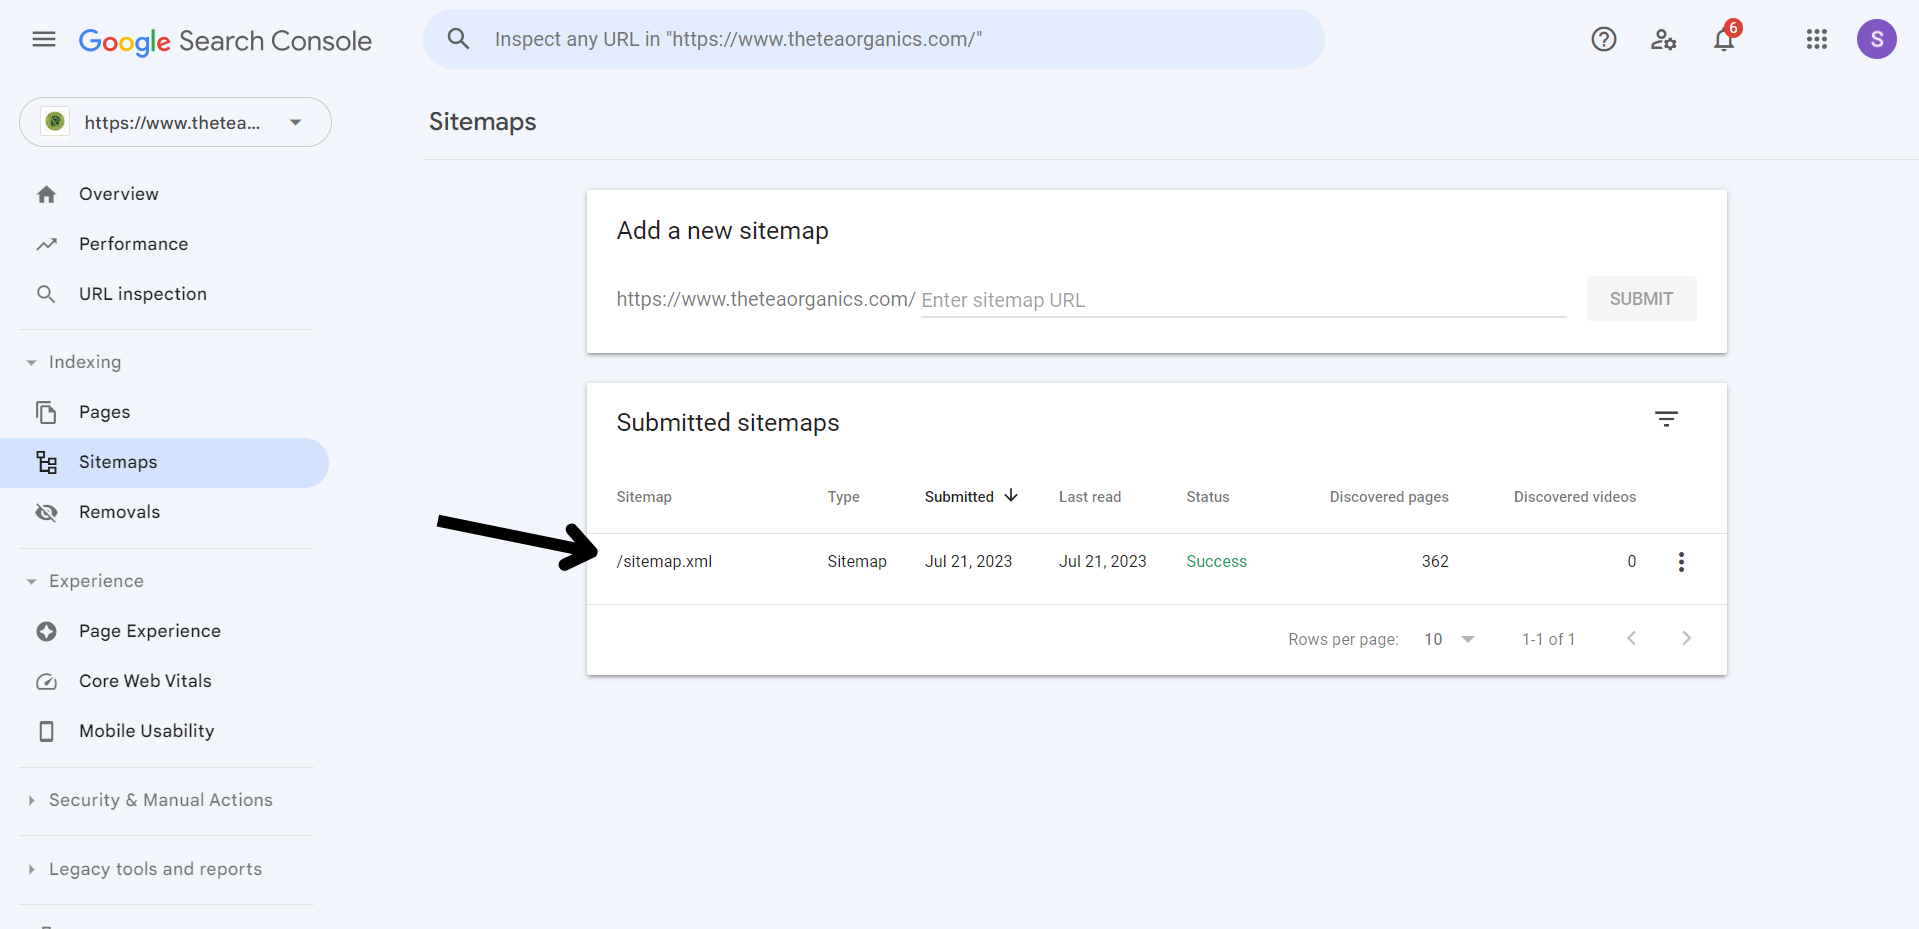
How to submit your sitemapSTEP 1:Log in to Google Search Console, choose the property (website URL) for which you want to submit your sitemap. Then click on Sitemaps.STEP 2:Enter “sitemap.xml” in the space given.STEP 3:Click on Submit.The sitemap has been successfully submitted. Click on Got it.*Note: When you are submitting a sitemap for your website for the first time, the status will say “Couldn’tfetch” instead of “Success”. This means it will take around a week for Google to discover your website pages.*

Facebook Domain Verification
Verify your Domain on FacebookNote: Click here to navigate to the mobile admin app version of this article.
You can watch the video version of this article here. Facebook Domain Verification is the process of telling Facebook that you own your website. It is extremely crucial to complete this process before you start marketing on Facebook. You just need to enter the verification code to your website, and Facebook will use that to verify. Once it’s verified, you can associate your Facebook page with your verified domain. Note: Make sure to install the Facebook Domain Verification app from the aasaan app market. Click here to learn how to install apps from your app market.
- Steps
- Screenshots
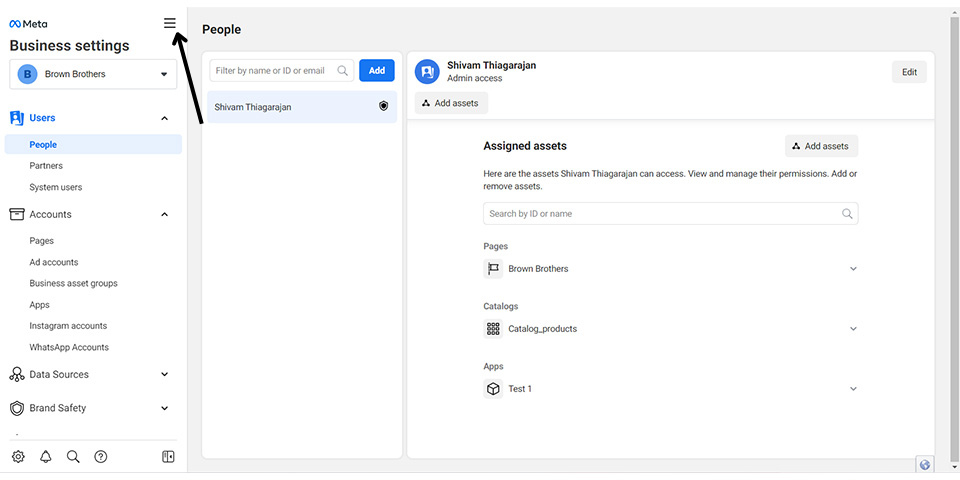
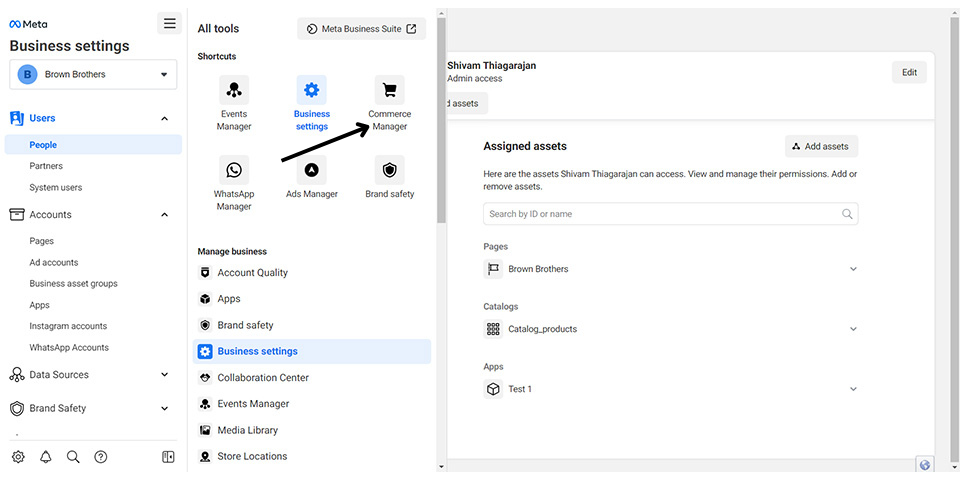
Get the FB Domain Verification Meta TagSTEP 1:Log into Facebook Business Manager and go to your Facebook business account settings.STEP 2:Scroll down on the left menu and click on Brand Safety > Domains.STEP 3:Click on Add > Create a new domain to add a domain.STEP 4:Enter the domain name in the format given below. Then click on Add.STEP 5:Copy the meta tag snippet in the quotation marks after content= .
Add Tag to aasaanSTEP 6:Go to your installed Facebook Domain Verification app in aasaan. Paste the site verification code from step 5 and click on Verify. The status should say “successfully connected.”STEP 7:Go back to your Facebook Business Manager account and click on Verify Domain. Your domain is successfully verified. Click on Done to complete the process.